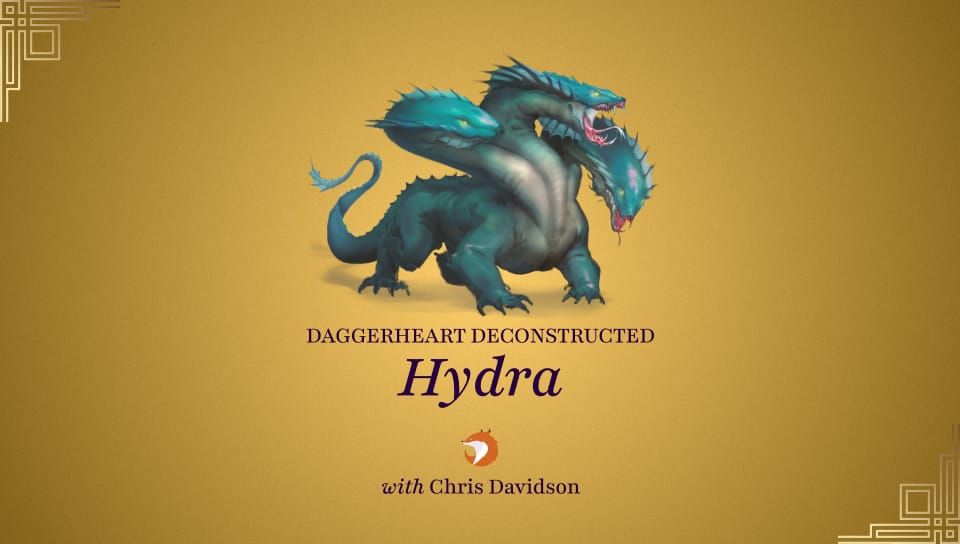
Deconstructed: Hydra
When more heads aren’t necessarily better.
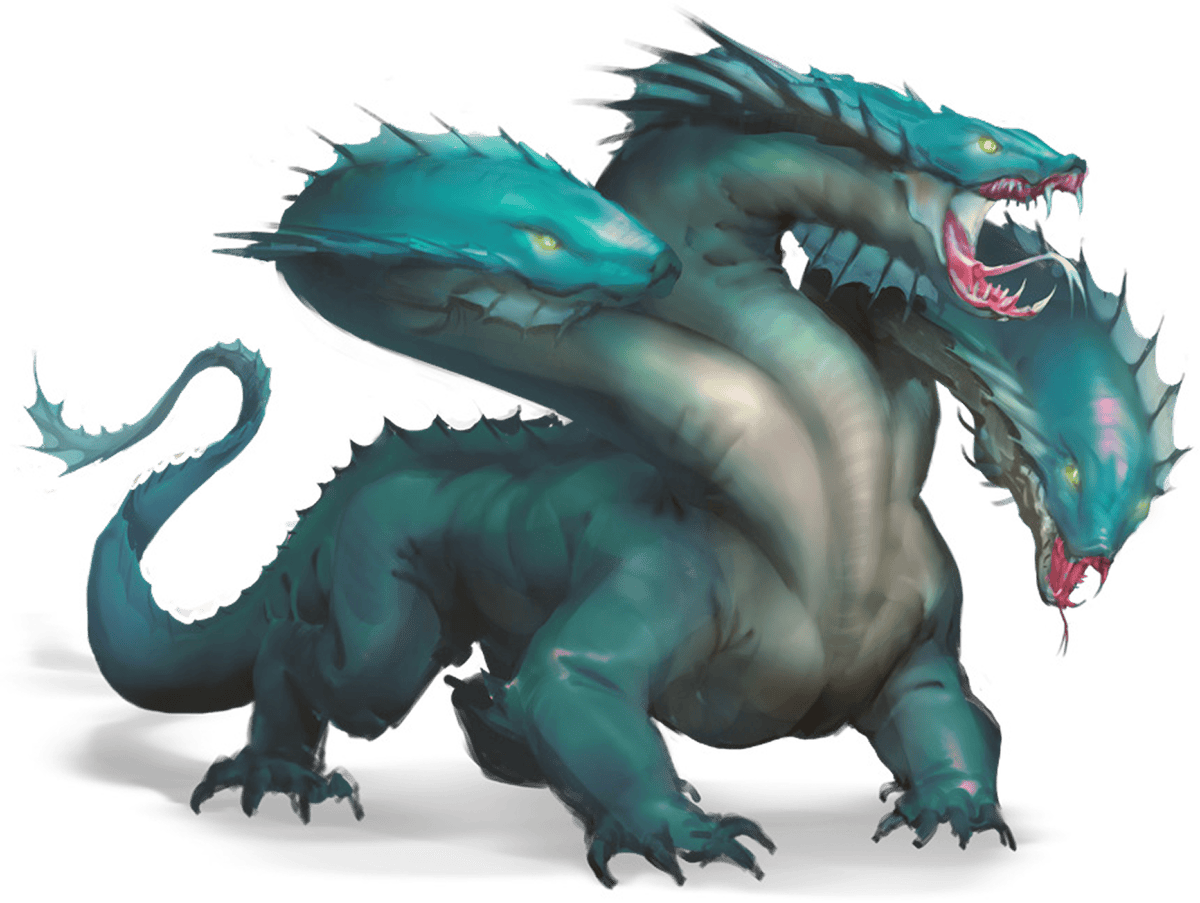
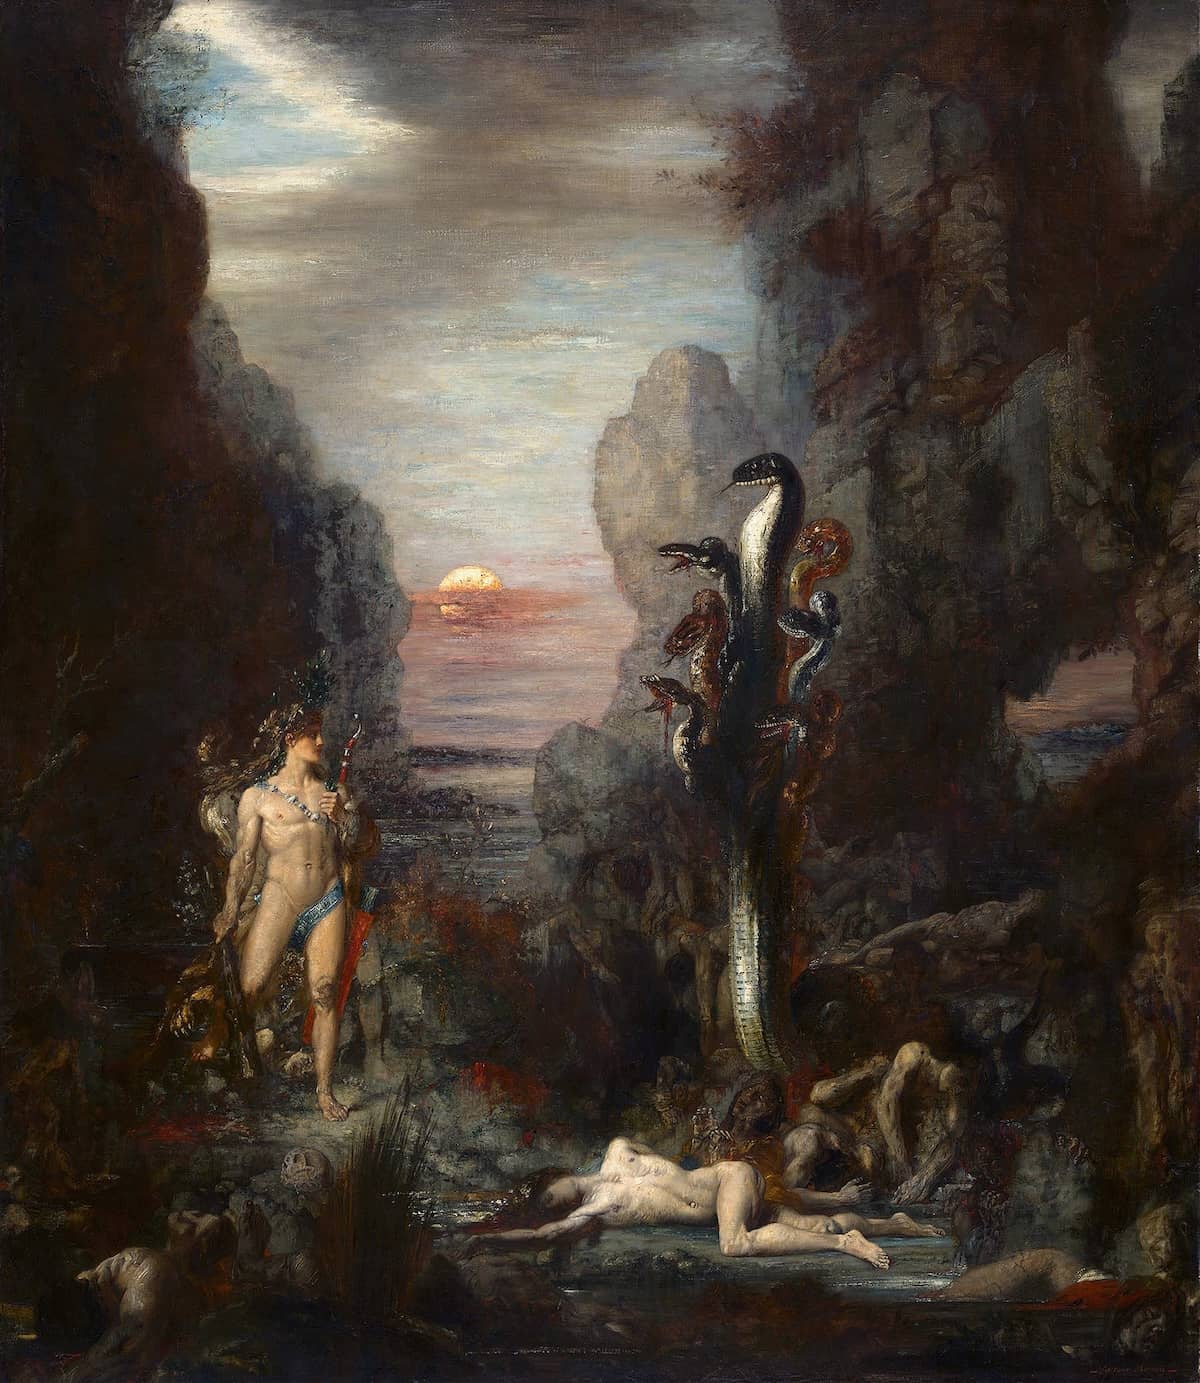
THE HYDRA IS A MENACE that can attack the party often, assuming you have the Fear to do so. Its multiple heads and regeneration mechanic are staples of the creature across several game systems and has its basis in Greek myth, replete with "fire" preventing the heads from regrowing.
Like most animals, the Hydra’s primary motivation is food because it’s got a lot of mouths to feed. It has an interesting sustainability mechanic making it immune to some sources of damage forcing characters to shift tactics. Where it runs afoul of the system is the fact that it does not generate enough Fear for this Adversary to live up to its legend.
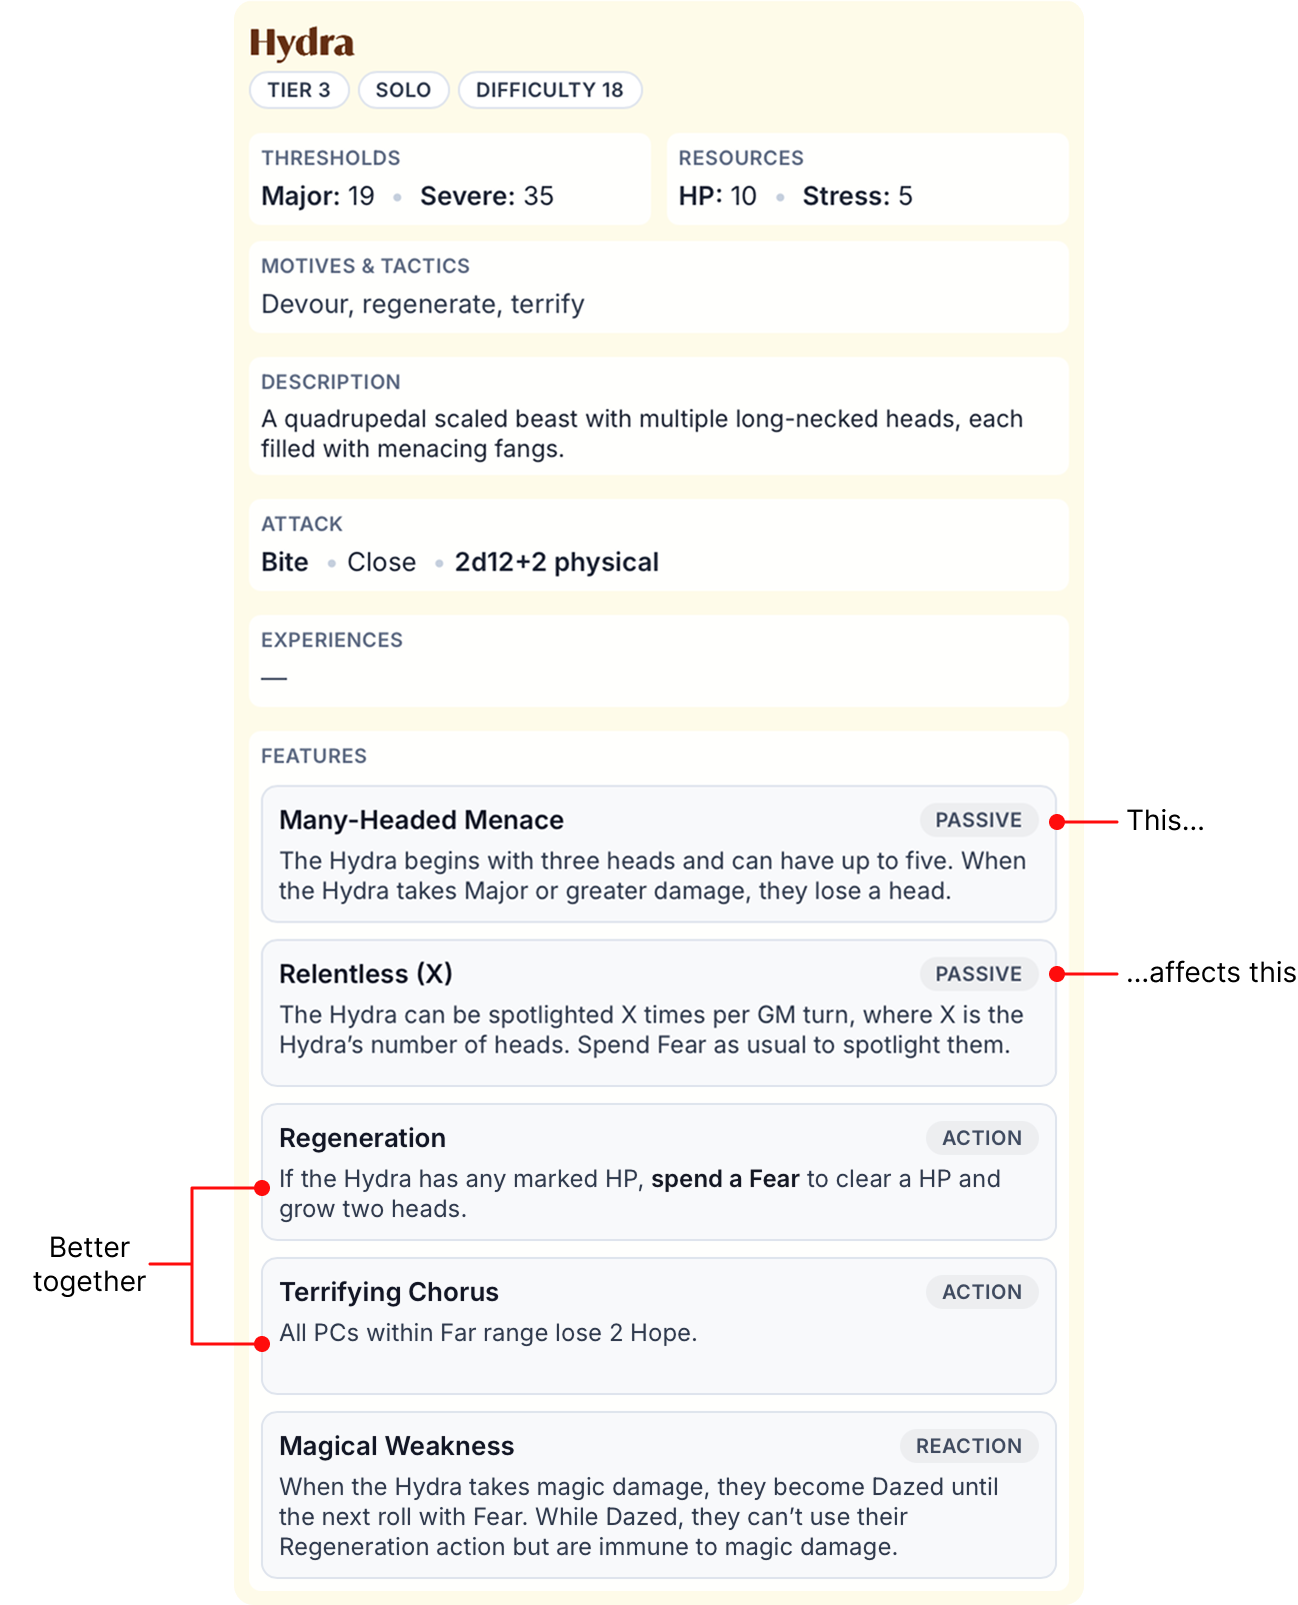
It has the highest Difficulty in Tier 3 (Along with the very good company of the Young Ice Dragon and Demon of Hubris) but its Thresholds are low. Its standard attack, which is the only damage dealing move it has, is also extremely low.
These choices might baffle someone looking at the trends across the book’s Adversaries in order to make sense of the grab bag that is Tier 3. The answer to the design question lies in the selection of features the Hydra comes with. With the exception of Terrifying Chorus, all the Hydra’s features speak to its in-lore abilities, which makes it a good adversary to study when making your own. It is expected to take several attacks during the GM spotlight, and those attacks have a larger range so to counter balance that, the Hydra does lower than expected damage.
Since it’s an action that doesn’t require Fear or Stress, starting the fight with Terrifying Chorus is a great opening note (pun intended). Then, each time you use the Regeneration action, consider spending the Fear to take the spotlight again and use this action directly afterwards. They go well together narratively and I wish they were one single feature, frankly. There’s nothing more disheartening than to see your work undone and the regeneration ability is a prime example.
The Many-Headed Menace feature tells you that the Hydra starts with 3 heads and can have up to five. It loses them when it takes Major damage, which is the expected output for most builds intended to do damage. This means you’re going to be micromanaging the number of heads the Hydra has because it ties into the next feature, Relentless (X), meaning that you can spotlight it as many times as you have heads. You may want to grab some counters to put on this stat block to keep track of the heads it is going to be gaining and losing.

Excited about Age of Umbra: Sallowlands? Every Wednesday, we'll examine an episode’s Adversary or Environment, unpack how Matt deployed it at the table, and suggest ways to incorporate it into your game.
Depending on how the dice roll, a group of PCs could all roll with Hope and do Major physical damage at the beginning of the fight. This could leave the Hydra with no heads and 4 HP left. There are two schools of thought here: The first is that it dies because it lacks the faculties to continue. The second is to lean into the original myth that the central head is immortal. While most of the times, this isn't an issue because it's a small chance, but never zero.
With Regeneration, you’re able to bring new heads back, which was the pivotal discovery Heracles made when fighting this dastardly beast. This does not give it more HP however, just more heads. All these features combined tell me that the Hydra’s only job in the narrative is to attack. This feature is, like in the legends, something that the PCs can prevent by dealing magic damage to it. This is the most important feature of the stat block because it becomes immune to magic damage until a PC rolls with Fear.
If the Hydra takes magic damage, it becomes Dazed. While Dazed, it can’t use one of its core features (Regeneration) and cannot be damaged by magic damage for a bit. If the attack was rolled with Fear (or if you have the Fear to steal the spotlight), this is a great time have the Hydra thrash around knocking over things and causing havoc that your PCs have to deal with. This might change the environment and show how magic damage affects this creature and then, after its done thrashing, you can describe the sheen of its scales and how it is adapting to the magical damage it took.
While there are some Adversaries that bring interesting balance to combat, the Hydra’s Motives & Tactics along with its feature set all speak to its primary role as a brawler. So if this is just a fight, something the game takes great pains to tell you to avoid, where does the interesting storytelling come into play? You might find that searching for the Hydra is the more interesting part of this encounter. Dreaming up what its lair looks like and what sort of complications go with it to provide a narratively satisfying session should be just as important as attacking often.
You should never plan a Solo fight without an interesting environment full of challenges the party must overcome. While it doesn’t say anything about being able to swim, the art (and other sources of lore) suggest this is a monster that would be at home in deep rivers and lakes or in a flooded tomb. Perhaps this fight might happen partially under the water to give your Ribbet or Druid a place to shine. You can find some interesting rules to help you navigate some of these options on page 168 of the Core Rules. It's also a good place to squeeze in some extra Fear generation, since the Hydra is one of those Adversaries that is hungry for it with no way to generate any.
Daggerheart Deconstructed is written by Chris Davidson, author of RightKnight's Guide to Making Custom Adversaries, one of the authors of Incredible Creatures, and Additional Writer for the Daggerheart Core Rule Book.