Deconstructed: Arch-Necromancer
A Tier 4 mage who commands scores of undead to dance on your grave.
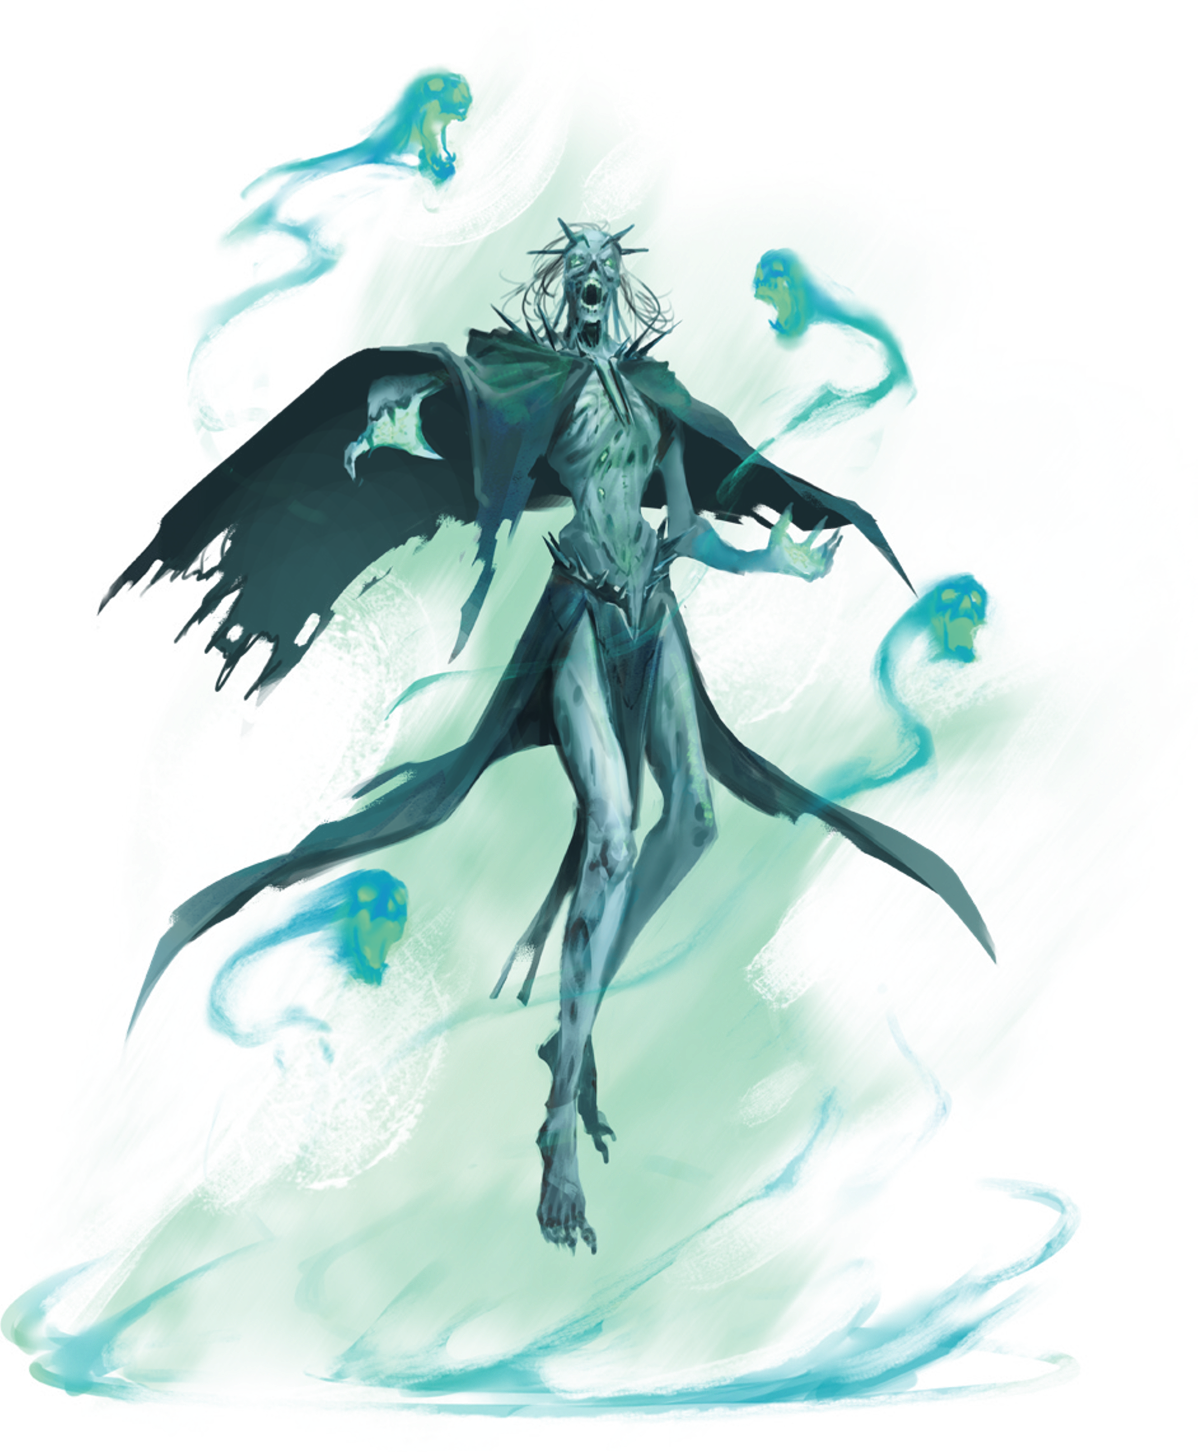
WHEN CHOOSING THE ADVERSARY that puts a poignant end to your campaign, you might have started flipping through the back of the adversary section of the Core Rules. Doubtless you saw the Arch-Necromancer and thought about how that story might play out. Other systems have liches and necromancers with histories older than I am. Daggerheart’s Arch-Necromancer takes from those tropes to create a vile adversary that will test your party.
This Adversary is an excellent example of a Leader with a reaction that can extend its (un)life by partaking in the very villainous act of running away.
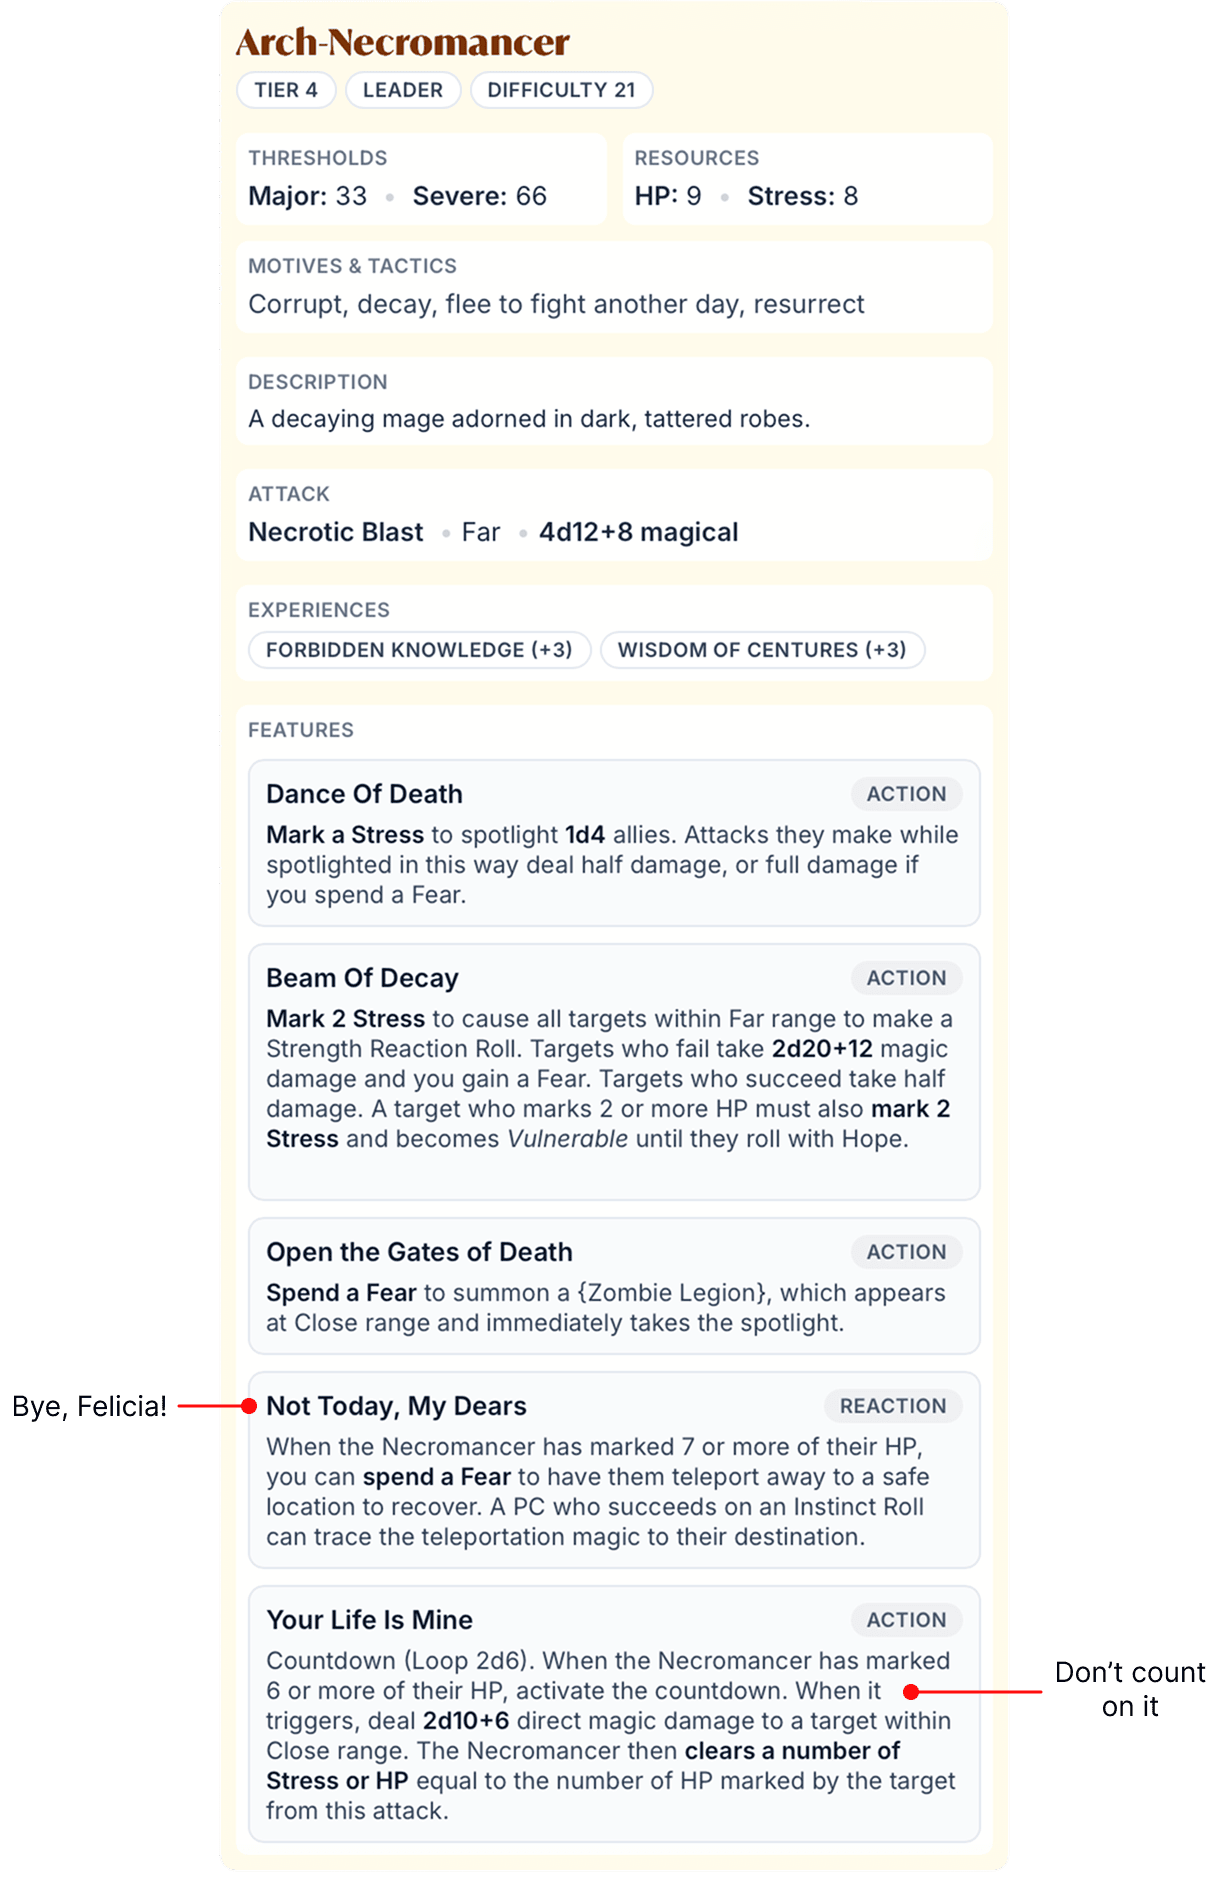
The Necromancer clocks in with the highest Difficulty in the book at 21. Their thresholds are pretty good for a Leader who is positioned as a potential Big Bad Evil Guy. Their HP and attack ranges keep them firmly at the back of the fight, commanding their legions to devour all those in their way. They tout centuries of knowledge (some of which is FORBIDDEN) all in the service of corrupting good and resurrecting an army. By the time the party has found the Arch-Necromancer, they should have slogged all the way through the Necromancer’s Ossuary (A Tier 4 Environment) filled with dusty tomes and decaying bodies only to have this cackling corpse of a mage bring even more down on them. Remember, a Leader is nothing without their followers.
After the PCs cast aspersions at the Necromancer, they will, in a barb-filled declaration of war, "Open the Gates of Death", summoning a Zombie Legion. If you are using the aforementioned Ossuary, however, it is more advantageous to use that Fear on "They Just Keep Coming!" to summon 2 Perfected Zombies in this instance unless you already have a court of foul undead to keep the party busy. The designers imply that you should have multiple adversaries along with the Arch-Necromancer to keep the party busy because Dance of Death isn’t as useful when all you have is a Zombie Legion. Use the Ossuary’s Aura of Death when the first wave of Adversaries are nearly defeated and then sparingly summon more when you have the excess Fear to do so.
Usually features that spotlight other Adversaries cost Fear, but the Necromancer marks Stress instead. In the narrative, the Arch-Necromancer might command their entire legion to gut the interlopers, but as the GM, you should choose adversaries that haven’t taken the spotlight in a while.
When the Arch-Necromancer has the spotlight, always keep them as far away from threats as possible. While their standard attack is impressive, their second spotlight should be to use “Beam of Decay.” It’s likely to reach all the PCs, generate at least 1 Fear for you and if you roll well, cause at least 1 PC to mark 2 Stress and become Vulnerable. Use this move again when most of the PCs have removed the condition.
When the PCs have surmounted the literal legions of zombie hordes the Necromancer has thrown at them, they’ll have marked 6 HP and activate the countdown on “Your Life Is Mine.” Unless you roll exceptionally low on this roll, you’re not going to see this countdown trigger. If it does miraculously go off, the damage is no-roll direct magic damage which will more than likely just do 1 HP. A character who makes a Death Move from this might choose Blaze of Glory undoing any HP cleared and more. Hell of a way to go out, though.

Obviously a mage as ancient and as intelligent as the Necromancer has an exit strategy prepared. It’s right up there in their Motives & Tactics in its FLEE TO FIGHT ANOTHER DAY and is exemplified with their feature “Not Today, My Dears.” Should they mark 1-2 HP while the countdown is ticking, they are most assuredly going to use this contingency plan. Just remember that it costs a Fear to use, so make sure you always save one for just such an occasion. If you have an established map of the Necromancer’s lair, choose a location that makes sense. Perhaps their study, or their laboratory, or in another lair where they’ll think up other schemes to trouble the party with later. After all, everyone loves a reoccurring villain.
Daggerheart Deconstructed is written by Chris Davidson, author of RightKnight's Guide to Making Custom Adversaries, one of the authors of Incredible Creatures, and Additional Writer for the Daggerheart Core Rule Book.